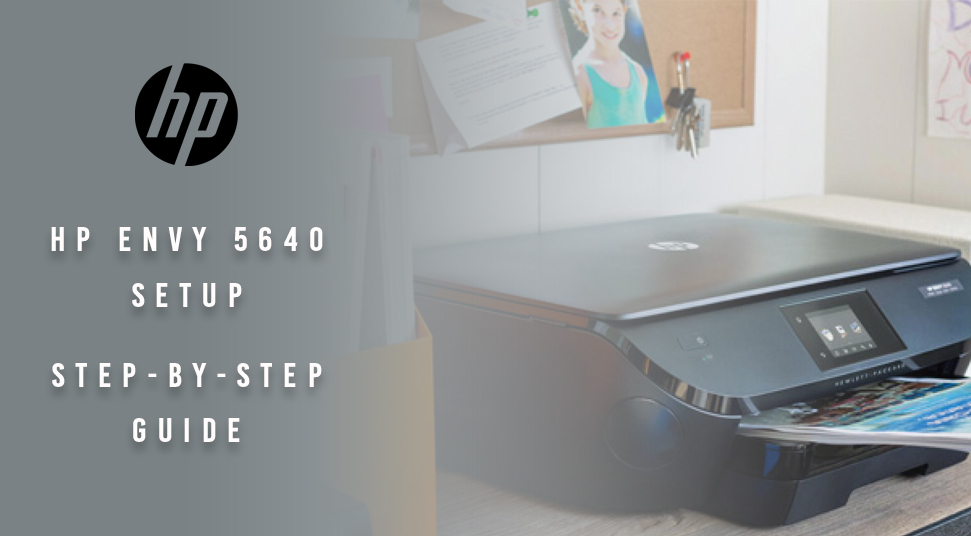
HP Envy 5640 is an all-in-one color multifunctional printer. You can connect this printer using both wired and wireless connections. This printer is ideal for home users as it has a compact size. This printer offers wireless direct printing.
You can connect this printer to your Mac devices as it supports the AirPrint option. This printer helps you to send documents, faxing and scanning other than printing. This printer offers double-sided printing and also borderless printing. You can even connect this printer to your smartphone, tablet, and internet-connected PC.
If you have bought this printer, you need to know the HP Envy 5640 setup procedure to experience these features.
Table of Contents
How to Setup the HP Envy 5640 Printer
To set up the HP Envy 5640 printer, go through the steps cited below. Before you install the printer software on your computer, you need to set up the printer hardware properly.
Step 1: Unpack the Printer
First, you need to remove the printer from the box. Then, make sure that you removed all the packing materials which come with this box.
- From the control panel display, you should remove the sticker.
- Then, open the scanner lid by lifting it up.
- Next, from the scanner glass, detach all the tape and packing materials.
- Now, check where you closed the scanner lid or not.
- The cartridge access door needs to be opened next. For that, place your two fingers under the mall handle of the cartridge access door.
- After that, lift up the access door and from inside the printer, remove all the tapes or packing materials.
- Now, make sure that you closed the cartridge access door.
- When you pull the paper tray, push in the photo tray and then slide out the paper with guides.
- The output tray needs to be replaced with the paper tray.
- Thereafter, push the paper tray until you find that it locks into its place.
Step 2: Check the Contents of the Box
Before discarding or recycling the box, you need to check whether you removed all the hardware and materials or not. For confirmation, check the packing list.
Step 3: Load Paper into the Paper Tray
Now, you need to load the paper tray before installing the cartridges.
- First, open the input tray. For that, hold the handle of the input tray and then pull the paper tray towards yourself.
- If you don’t know how to load paper, then tap on Play in order to watch a video.
- When the paper tray is pulled out, the photo tray needs to be pushed as far as possible and also slide out the paper width guides.
- Go to the paper tray to load the paper and then push the stack of paper until you find the paper stack stops moving further.
- Push the paper tray until you find it locks into its place.
Push the Paper Tray
Now, you will observe that “the Have You Changed the Paper” screen will display. Make sure you select that option and if not then the message will fade after a few seconds.
- Sometimes, you might forget to change the paper size or type. Then go back to the Home screen by clicking the OK option. You may even have to wait for several seconds until the printer returns to the home screen automatically.
- After changing the paper size or type, adjust the paper settings. For that, follow the steps mentioned below.
- If you changed the paper in the main tray, then tap on Main tray. After that, go to Paper Size and then select your paper size. Select Paper Type followed by your paper type. Now, select the Done option and then return to the Home screen. For that, click on OK.
- If you’ve changed the paper in the photo tray, make sure that 4*6 in Photo Paper is shown in the Photo Tray field. Now, go to the Home Screen and select the OK option.
Sometimes, you might find that the photo tray is Empty. Then the photo tray needs to be opened and checked if the index card is pushed to the rear of the tray or not. Now push the photo tray until it is placed properly and then push the input tray. Next check the touchscreen to make sure that 4*6 in.
Step 4: Connect the Power Cord
First, you need to plug the printer to turn the printer on. Thereafter, choose your preferences.
- Connect the power cord to the back of the printer and then attach the other end into an electrical outlet.
- Turn the printer on by tapping the Power button.
- Go to the printer’s control panel and click on your preferred language.
- Then, click on the Continue option to confirm your choice.
- Next, select your country or region and then click on the Continue Setup.
- After setting the month, day, and year, select the Continue option.
- Finally set the time and then click on the Continue option.
Step 5: Install the Cartridges
Check if the cartridges that you’ve installed are compatible with your printer and make sure they are unmodified.
- Open the cartridge access door on the printer’s control panel and you will find the Door Open screen displays. Make sure you close the message completely.
- In the bottom right corner, you will find a Change Ink option. If you want to watch an animation to install a new cartridge, then select that option.
- At the time of removing the cartridges, be careful that you only touch the black plastic on the cartridge.
- Now, remove the protective tape and for that pull the orange tab.
- Slide the new cartridge into the empty slot and then push the cartridge until it is placed properly.
- In the left slot, you need to insert the tri-color cartridge and in the right-slot insert the black cartridge.
- To install other cartridges, you need to repeat all these steps.
- Then, the cartridge access door needs to be closed and next click on the OK option.
- Wait for a few minutes until the printer calibrates and align the cartridges. Then, the printer starts to print an alignment page.
- Sometimes, you might find that the alignment page does not print. Then, go through the steps mentioned below.
- Check whether you loaded plain white paper into the paper tray or not.
- Go to the printer’s control panel and click on the Setup option.
- Head over Printer Preference to touch Align Printer.
- To finish the alignment procedure, follow the instructions on the Control Panel. Now, the printer will begin to print an align page.
- Finally, select the OK option.
Step 6: Install Printer Software
Now, you can install the printer software. You should not connect the printer to a computer until you are asked to do so. Then, you need to download the latest version of the printer software.
Visit the official HP driver download page and search for your printer driver by entering your printer model name and number. When you locate the driver, click on Download to begin the download.
Hopefully, the above instructions will be helpful in setting up the HP Envy 5640 printer successfully.