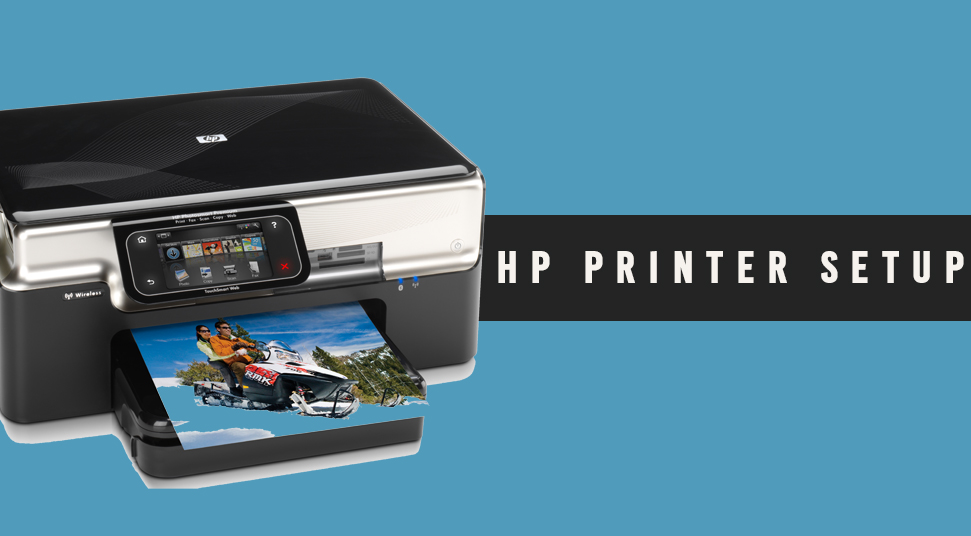
Setting up a printer is an easy work to perform. These days printer helps you not only in printing but also in sending documents, faxing and many others. Most of the HP printers can be connected both wired and wirelessly. With the help of a wireless printer, you can print anytime from any place.
You can print using your mobile phone, tablets or even internet-connected computers. After buying an HP printer, all you’ll need is a thorough idea about the HP printer setup in order to experience all its attractive features.
If you don’t know how to set up an HP printer, you can go through the instructions provided below.
Table of Contents
How to Set up an HP Printer
Make use of the easy steps detailed below to set up an HP printer. The steps are easy to perform and following them, you should have no trouble setting up your new HP printer.
Step 1: Prepare for the Printer Setup
- Before starting, make sure you have the following:
- Check whether the printer is turned on or not and if not, just turn it on. Make sure it is in a ready state.
- You need to get hold of a USB cable 3 m in length.
- Sometime you might connect through a USB hub or the docking station. In such cases, the printer will not able to receive enough power. Hence, it will be unable to operate.
- It might be possible that before installing the HP driver, you might have connected it to your PC through a USB cable. Then, you can continue with the following steps to set up the HP printer successfully. If not, you can skip to the next step (Step 2) to install the driver.
- If you find any USB cables attached to your PC, then disconnect them. At the time of driver installation, you should not reconnect the cable until you are asked.
- Search Windows for ‘devices’ and then from the settings, click on the Devices and Printers control panel.
- Select the icon for your printer model followed by the Remove Device option. Sometimes, you might find multiple devices, then make sure that you removed all of them.
- Now, make sure that you closed the Devices and Printers window.
Step 2: HP Printer Software Install
Here are the steps that you need to perform in order to install the printer software.
- First, go to the official HP download page, type your printer model number and then download the driver. For that, follow the on-screen instructions.
- When a driver or HP Easy begins to download, open the downloaded file.
- If you are asked to choose a connection type, click on USB. If you find the setup is successful, then you should not proceed with the remaining steps.
- Sometimes, you might find the download fails or your printer is not listed. Then, go to the HP website and follow the steps mentioned below.
- Navigate to the HP Customer Support and click on the Software and Driver Downloads after entering your printer model number.
- If you are asked, then confirm that your operating system version is correct.
- When “Let’s identify your product to get started” page appears, click on your Printer and enter the printer model number.
- Now, click on the Submit option.
- Sometimes, your operating system needs to be changed. Then, click on ‘Change’ to choose your version followed by the Change option.
- For full software package, select ‘Download’ under the heading named Driver. For other driver options, select Basic drivers.
- When the installer asked you to select a printer connection option, click on USB.
- Now, try to print, scan or fax in order to check if you completed the setup procedure successfully or not.
Frequently Asked Questions
- How to print from Android mobile?
Ans: If you want to print from your android device, then go through the steps mentioned below.
- First, you should launch the file that you want to print.
- From the top right corner of the screen, double-click on the menu button.
- Go to Print and click on the drop-down arrow.
- Now, choose the printer you would like to print from and then hit the Print button.
- How to reset an HP printer?
Ans: Here are the steps that you need to perform to reset the HP printer.
- At first, make sure that your printer is turned off and then wait for a few minutes.
- Now, turn the printer on and then hold the OK icon until you find the three lights on the printer’s control panel starts flashing.
- After waiting for 10 seconds, you need to release the icon.
- Next, with the help of the navigation keys, select the Cold Reset option.
