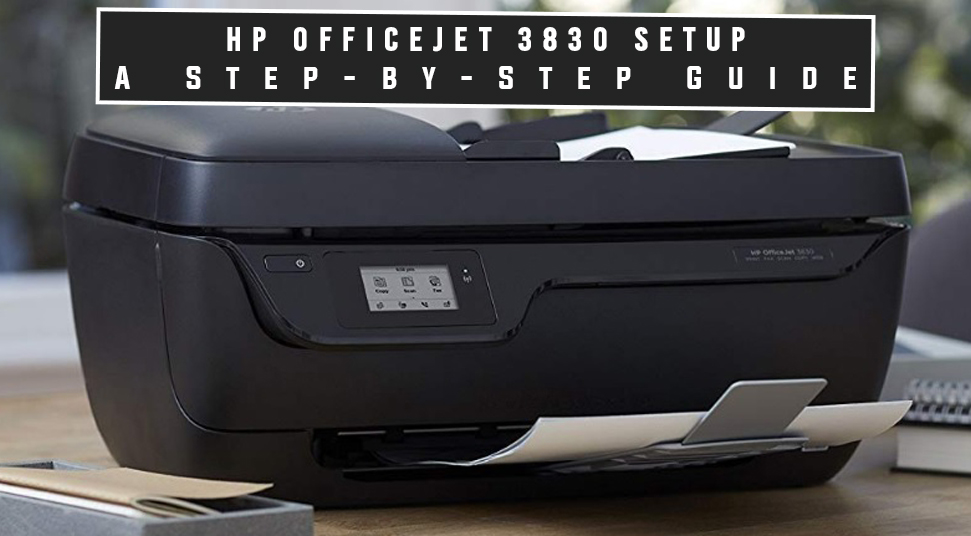
HP Officejet 3830 printer is a compact and attractive all-in-one printer, offering remarkable convenience and amazing print quality from anywhere, be it at your office or home. It can help you to maximize your daily efficiency with the advantages of connectivity.
After purchasing a new HP Officejet 3830 printer, the first thing you have to do is set up the device to make it work smoothly and efficiently. You can go through the section hereunder that can help you to perform the HP Officejet 3830 setup on your own.
Table of Contents
How to Setup HP Officejet 3830 Printer?
Here, we are about to discuss the step-by-step procedure of HP Officejet 3830 printer. So, you can perform the steps as follows:
Step 1: Unbox the Device
First of all, you have to remove the device from its box. Then, exclude all the stickers, tape, and packing materials from the outer surface of the device. Afterward, open the access door of the device.
Now, remove the tape and packing material from the access door of the ink cartridge. After opening the access door, you can remove the tape and packing materials from the inside of the device. Lastly, close the access door as well as the outer door of the device.
Step 2: Connect the Device with the Power Supply and Configure the Device
After unpacking the device, you can connect it with the power outlet and then configure the device. In order to do this, you can perform the steps as follows:
- First, connect the power cable with the printer and connect the other end to the power supply.
- Now, press the Power button and hold it for a minimum of 10-12 seconds to switch on the device.
- Choose your preferred language from the menu displaying on the printer’s screen. To do this, you can use the navigation arrow key from the Control Panel of the device.
- Tap on the Yes button to confirm the choice. Now, you will be prompted to choose the Region and Country.
- Tap on the specific region and country from where you are using the printer. Tap on the Yes button to continue.
- Next, choose the Date and Time by using the Up and Down arrow keys. After selecting the date, tap on the Next button and choose the Time. Lastly, tap on the Done button and go to the next step.
Step 3: Install the Ink Cartridge
Now, install the ink cartridges that come in the box along with the device. To do this, you can follow the steps mentioned below:
- First of all, open the access door of the exterior panel of the device. Then, open the access door of the ink cartridge panel. Move the carriage to the center.
- Now, wait for a few seconds until the device is silent and idle before going to perform the next step.
- Afterward, remove the ink cartridge from its packing. Make sure that you have only touched the black plastic of the cartridge.
- Remove the protective tape and slide the new cartridge at the upward angle into the empty slot.
- Then, push the cartridge gently until it snaps into its slot. You can insert the tri-color cartridge into the left slot and the black cartridge into the right slot of the cartridge.
- Repeat the same process to install another ink cartridge.
- After installing the ink cartridges, you can close the access door. Then, close the exterior door of the device.
Step 4: Load the Paper into the Paper Tray
Load the paper by following the below-mentioned steps:
- To load the paper, you can raise the input tray and then slide the paper width guide to the left pane.
- Now, load the A4 or plain white paper into the paper tray. Then, slide it down until it places properly.
- Next, slide the paper width guide to the right. Stop it at the edge of the paper. Don’t push it too far as it can restrict the paper.
- Lastly, remove the output tray and raise the extender.
Step 5: Align the Ink Cartridges
After loading the paper, you have to align the ink cartridge to get quality printing. Follow the below steps to do this:
- Once you complete loading the paper, tap on the OK button. Then, the device will print the alignment page automatically.
- Now, lift the scanner lid and then place the page with the print side down. Then, place it to the engraved guides around the glass.
- Afterward, you can close the scanner lid of the device.
- Tap on the OK button to scan the page.
Step 6: Install the Printer Software
When the hardware set up of your HP printer is complete, it is time to install the software. Don’t try to connect the device to the system until you are instructed to do so.
To install the printer software, first, visit the official website of HP and then search for the latest version of printer software by using the model name of the printer.
Once you get the latest version, download it on your computer. Wait for a few seconds until the downloading process gets completed. After completing the downloading process, you can install it by following the on-screen prompts.
Complete the installation process properly to enjoy a hassle-free printing job.
Hopefully, after executing the above steps in their respective order, you will be able to accomplish the HP Officejet 3830 setup. To read a similar setup guide, you can follow our website regularly.