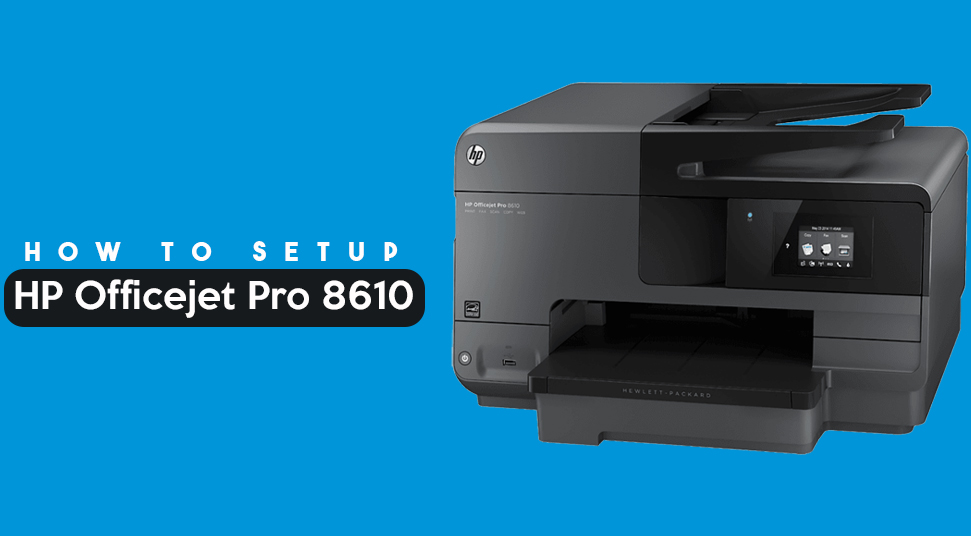
HP Officejet Pro 8610 is an all-in-one Wireless printer for office and home purpose. The primary function of this printer is to scan, copy, fax, perform wireless printing, and two-sided duplex printing.
You can even print from anywhere using your smartphone or tablet with the free HP ePrint app. It can also easily print from the iPhone with AirPrint and even without a network using Wireless Direct printing.
With its multifunctional features, it is the most preferable among the users. Setting up an HP Officejet Pro 8610 wireless printer is important for its use. Without its set up correctly, you will not able to use it properly. Here, you will get a complete guide on how to setup HP Officejet Pro 8610 on your device.
Table of Contents
Effective Steps to Implement for Setup HP Officejet Pro 8610 on the System:
Here we will be discussing an easy and simple step-by-step guide to set up the HP Officejet Pro 8610 printer on your computer. So, let’s take a look at the steps that are given below:
Hardware Connection
At first, you will need to do configure the hardware connection of the HP Officejet Pro 8610 printer. Hence, follow the steps hereunder:
Step 1 – Remove the HP Printer from the Box
Firstly, remove the HP printer from the box and all the packing materials, stickers, and taps from the HP printer.
- Remove all the components from the box.
- After that, take out the HP printer from the box.
- Then, remove all the packaging materials and the blue tapes from the outside of the printer.
- Next, remove the plastic from the Control Panel display.
- Put the fingers into the slot of the HP printer’s left side and then open the ink cartridge door.
- Afterward, remove all the packing materials and tape from the inside of the HP printer.
- Close the ink cartridge.
Step 2 – Install the two-sided Printing Accessory (Duplexer)
After packing all materials, install the duplex to the back of the HP printer. Then, follow the steps that are given below:
- Locate the duplexer in the box.
- Remove the duplexer from its packing materials and then remove any strip on the duplexer.
- After that, install the duplexer into the slot in the back of the printer and then push it into the HP printer until it locks into place.
Step 3 – Connect the Power Cord to the HP Printer
After installing the duplexer to the printer, connect the HP printer to the power source. To do that follow these steps hereunder:
- Remove the twist tie from the power cord.
- Plug the Power cord into the back of the HP printer and the other end of the power cord into the power wall outlet.
- After attaching the printer to the power supply, press the Power button to switch on the HP printer.
- Next, set the HP printer from the Control Panel. In the Control Panel of the HP printer, select the preferred language and then tap on the Continue to save it.
- Select the Date and Time and then tap on the Done option and then proceed to the next step.
Step 4 – Load the Paper into Tray
After doing this, load the A4 paper into the input paper tray of the HP printer.
- Take out the input paper tray from the HP printer.
- Hold the paper width guide tabs, and then slide the paper width guides to their positions.
- After that, load the A4 paper properly into the tray.
- Once the paper is loaded, insert the input paper tray to the printer until it pushes into its place.
Step 5 – Install the Ink Cartridge
After loading the paper, now you need to install the ink cartridge that comes with the HP printer. To install the ink cartridge follow the undermentioned steps:
- Open the ink cartridge access door.
- Wait for a few seconds until the printer is quiet and idle before going to the next step.
- After that, open up the packing and remove the ink cartridge.
- Thereafter, install the ink cartridge into the identical slot correctly. You will have to push it until you feel it snap into place. Do the same process to install all the ink cartridge to the HP printer.
- Then, close the ink cartridge door. Now, the HP printer will check the ink cartridge and align the ink cartridge.
- Once the alignment is finished, the HP printer prints the alignment page.
Once the hardware connection is done, now download and install the HP Officejet Pro 8610 printer driver on the device.
Software Connection
After finishing the hardware connection, install the hp Officejet pro 8610 printer driver on your computer.
Step 6 – HP Officejet Pro 8610 Driver Installation
To install the HP Officejet Pro 8610 printer on your computer, follow these steps hereunder:
- Go to the official website of the HP printer. If the installation CD comes with the HP printer, then insert it to the disk port of the PC.
- After that, look for the latest version of the HP Officejet Pro 8610 driver and then click on the Download option.
- Once the driver is downloaded, click on the Install option. Then, follow the instructions which appear on the screen until the Choose Connection Type screen occurs.
- From the Connection Type window, select the one connection type and then click on the Next button. Then, follow the on-screen directions carefully to finish the installation process of the HP Officejet Pro 8610 printer driver.
Now, you will get a complete idea of how to setup HP Officejet Pro 8610 driver on the system. After doing these above steps, you can easily set up the HP printer on your computer.
Frequently Ask Questions:
How do you connect the HP Officejet Pro 8610 to your Computer Wireless Network?
- Switch on the HP Officejet Pro 8610 printer
- Go to the Control Panel and press the right arrow key and then tap on the Setup.
- From the Setup menu, locate the Network, tap on it.
- Tap on the Wireless Setup Wizard from the Network menu list. Now the printer will search for available wireless networks.
- Select the Wireless network name (SSID) from the list and then enter the Password into the Password field. After that, tap on the OK option. Now, the printer should be connected to the network properly.