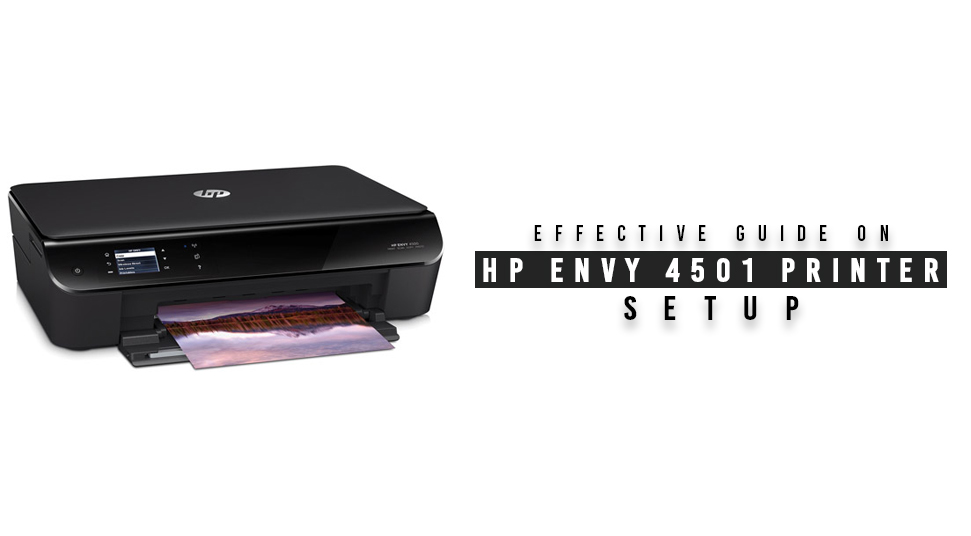
HP Envy 4501 is an all-in-one wireless inkjet printer that provides clean pictures with the virtual lab quality. The print quality of this printer is excellent and pleasing for printing at the office as well as at home.
Using the smartphone or tablet, you can print from anywhere with the free HP ePrint application.
It can also print from iPhone with the AirPrint and even without a network utilizing WiFi Direct.
If you have bought the HP Envy 4501 printer for the first time, then you may face some problems while setting it up. Its setup process is very easy and simple. Read the complete guide carefully to finish the HP Envy 4501 setup and driver installation.
Table of Contents
Step-By-Step Process to Set Up HP Envy 4501 Printer on the Computer:
Here we will be providing a complete setup process of the HP Envy 4501 printer on your computer. Follow and implement them as instructed below:
Step 1- Unbox the HP Printer
At first, you should unbox the printer. To do that, check out the steps listed below:
- Remove the HP printer from the box.
- Now, remove the tape, plastic or other packaging materials that are offside the HP printer.
- Once these are removed, you can set the HP printer back down. Then go to the Scanner lid and lift it up.
- With the scanner lid up, you can pull the plastic cover off the lid. Then close the scanner lid.
- Remove the piece of the film covering the front of the HP printer.
- Open the input paper tray and then slide it out. Remove the tape that’s on the tray and then slide in the input paper tray until it clicks into place.
- Remove the guarding film on the control panel of the HP printer.
- Next, you need to remove all the packing materials or taps from the inside of the printer. Open the HP printer’s top cover and remove all the tapes and then close the top cover of the HP printer.
Step 2 – Plug the Power Cord to the HP Printer
Now the HP printer is unpacked and you are ready to set up the hardware. Follow the steps hereunder to continue with the process:
- First, take the Power cord and remove the twist tie.
- Next, locate the port where the cord plugs into. Then plug the power cable into the back of the HP printer.
- Another one connects to the power source.
- Once everything is plugged-in, we are going to go to the front of the HP printer. Press the Power button to turn on the HP printer. When the printer first powers on, it will make some noise while it’s initializing for first use. After the HP printer has powered on, set up the printer from the Control Panel.
- In the Control Panel of the HP printer, use the arrows to scroll to the language that you need and then tap on the OK.
- Use the arrow buttons if needed to choose your Region/Country and then tap on OK.
- Again, use the arrow buttons to set up the Date and Time and then tap on the OK.
Step 3 – Install the Ink Cartridge
After doing this, now you will receive a prompt that tells you to insert the cartridge. To insert it, follow the steps cited below:
- Open the top cover of the HP printer.
- Now, move the cartridge that came with the HP printer to the access area.
- Open up the packaging and then remove the cartridge. Now, using the orange pull-tab, remove the tape covering the electrical contacts and ink nozzles.
- When you load the cartridges in the HP printer, you will notice that the color on the locking levers matches the color on top of the cartridge.
- Lift to open the lock lever and insert the cartridge into its place and then close the lock lever until it snaps into place. Now, you need to repeat the process with other ink cartridges.
- After performing these steps, close the top cover of the HP printer.
The printer will recognize that you have installed a genuine HP cartridge. A confirmation message will be displayed on the Control Panel. Press the OK button to continue with the setup process.
Step 4 – Load the A4 Paper
After installing the ink cartridge, the printer will show that it is initializing and ask you to load the A4 paper into the HP printer.
- Pull out the input paper tray.
- Load the A4 paper into the input tray of the HP printer. Then push the width guides inward and slide the tray. The printer will then print out an alignment page.
- Once the alignment page prints, now install the HP Envy 4501 printer driver on your computer.
Step 5 – Download and Install the HP Envy 4501 Driver
Once the hardware connection is done, you need to download and install the HP Envy 4501 driver on your system. Here are some steps that you can follow to install the printer driver:
- Visit the official website of the HP and look for the latest version of the HP Envy 4501 driver. Alternatively, if you have an installation disc that comes with the HP printer, then insert it into the disk port of the computer.
- After finding the driver, download it by clicking on the Download button.
- Once the file is downloaded, double-click on the setup file. Then follow the onscreen instructions until the Choose Connection Type window appears.
- Select the Connection type that you want and then click on the Next option. Further, follow the directions which occur on the screen to finish the installation process.
- Once the driver is installed on your computer, now you need to use it.
These are the overall steps in which you will be able to perform the HP Envy 8501 setup on your computer.
Frequently Ask Questions
How do you Connect HP Envy 4501 Wireless Network?
- Switch on the HP printer.
- Go to the Control Panel, tap on the Wireless icon. Now the Wireless window will appear.
- Tap on the Settings icon.
- Tap on the Wireless Setup Wizard.
- Now the printer will find the available wireless networks and then select it.
- After that, type the password in the password field and then tap on the OK. Now the printer will be connected to the wireless network.