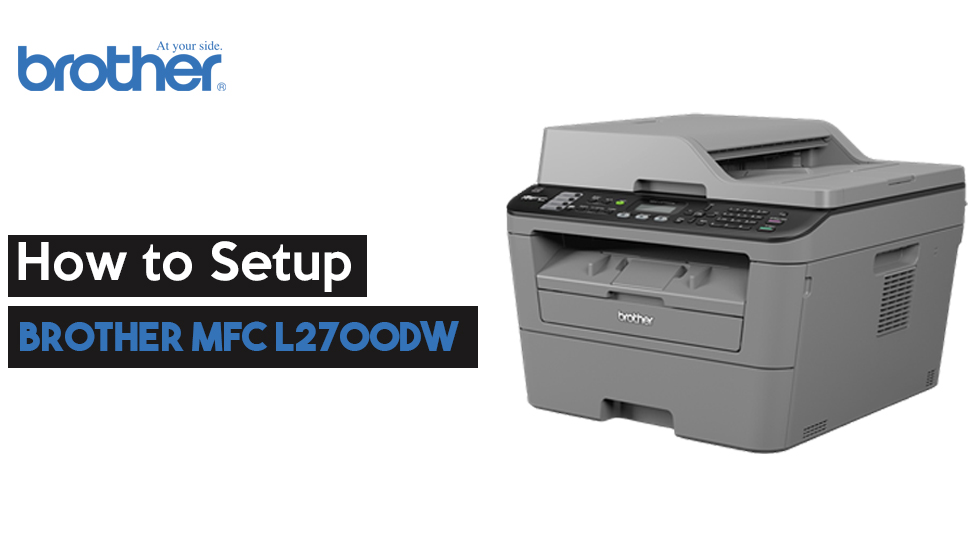
If you have recently got the Brother Mfc l2700dw and looking for a guide to set it up, then here we are to help you out with it. Just follow the instructions provided below and you’ll have no trouble in setting this printer up.
However, you have to keep in mind that you need your router’s wireless network settings to complete the setup.
Table of Contents
Brother Mfc l2700dw Wireless Setup Procedure
Below, we have provided the complete Brother Mfc l2700dw wireless setup procedure in a step by step manner. Hence, follow them to set up the Brother Mfc l2700dw printer correctly.
Step 1: Wireless Network Settings of Your Router
We already mentioned that you need to know your router’s wireless network settings. Here are the wireless network settings that you need to get hold of and probably note down somewhere safe before you move on with the setup.
- Network Name, which is known as “SSID” or “ESSID”.
- Network Key, which is known as “Password”, “Security Key”, or “Encryption Key”.
Here is the way to find the Network Name and the Network Key.
- Check out your wireless router’s base or side.
- Check the documentation provided with your wireless router.
Step 2: Set Up the Brother Mfc l2700dw on Your Wireless Network
After locating your router’s wireless network settings, follow the instructions below to connect the Brother Mfc l2700dw to WiFi.
- Connect one end of a power supply cable to the Brother Mfc l2700dw and plug the other end to an electrical outlet. Turn on your printer.
- Press the menu button of your printer.
- Choose Network using the Up or Down arrow key and click the OK button.
- Select WLAN using the Up or Down arrow key and select OK.
- Choose Setup Wizard using the Up or Down arrow key and click the OK button.
- When you will see ‘WLAN Enable?’ click on Yes and the wireless network will be enabled. Your wireless setup wizard will start after it.
- The device will find out all the available networks and show you the list. When you see the list of SSID, choose the SSID you noted down earlier using the up or down arrow key and hit the OK button.
- Now hit the OK button after putting the Network Key, if your authentication and encryption method need the Network Key. Apply the settings by choosing Yes.
- You can move to the next step if the authentication method that you are using is an Open System and there is no encryption.
- The machine will try to get connected to the wireless network that you have chosen.
- If it connects successfully, you will see a message on the LCD display saying Connected. You will get a wireless connection report, printed by your printer.
- You will get a wireless connection report printed by your printer saying Connection: XX if the printer fails to connect.
Step 3: Download the Printer’s Driver
When you are done with the printer’s set up, downloading the printer’s driver and installing it is your next job. Here are the steps to follow to download and install the driver of the Brother Mfc l2700dw printer.
- Find out the exact model number of the Brother Mfc l2700dw. Find it by searching on the front, back and the top of your printer.
- Keep in mind which Operating System you are using.
- Find out if your operating system is 32bit or 64bit.
- Now go to the official website of your printer and search for the driver of your printer by entering the model number of it. Download it after you find it.
Step 4: Install the Printer’s Driver
After downloading the driver of your printer, this is the last thing that you have to do. After going through this process you will be able to use your printer. There are two ways that you can use to install the driver of your printer automatically. With the CD and without the CD. We will let you know both the ways to install your printer’s driver in detail.
Install the Driver Automatically using the CD
You can install the driver using the CD that came with the printer. Here are the steps to follow.
- Press the power button of your printer to turn it on.
- After that, into your device’s CD drive, you have to load the driver CD that came with the printer.
- You will see an AutoPlay window that says you to run the program from your media or install it.
- Now you have to execute the file named Autorun.exe.
- You have to choose Yes when Windows will ask you to open the installer.
- Put a tick on the check-box next to “I have reviewed and accept the installation agreement” before the installation process starts.
- Now you have to choose the Next button to start the installation process of the driver of brother Mfc l2700dw. The installer will transfer the files to your computer after copying those from the CD.
- Now you have to select the way you want your printer to work. Select from the menu with few choices that will appear on the screen of your computer.
- You can connect it through a wired network, wireless network or a USB cable.
- Then you will see a pop-up window with a message saying you to connect your printer with your computer or laptop, using a USB cable.
- After that, your device will find the Brother Mfc l2700dw printer automatically and you have to choose Continue or Next to finish the installation.
- You will get a notification from the installer after the installation finishes.
- In the end, you will see a window saying the software is successfully installed. Choose the Finish button then.
Install the Driver Automatically Without the CD
If you want to install the driver without the CD, here are the steps to follow.
- Download the printer driver from the printer’s official website.
- Unplug the USB cable from the back of your printer after turning it on.
- Double-click on the downloaded Driver.
- Click the Run button and the installation will start and extract the files. Follow the wizard prompts.
- Then you have to click on the ‘I Agree’ button.
- You will be asked to connect the printer with your device by the installation wizard. Connect it with the USB cable.
- Wait for some time until it detects the printer.
- Choose Next then and you will see a green tick mark after the printer gets detected.
- Hit the Finish button.
This was the complete set of instructions about the Brother Mfc l2700dw printer setup. Hope, you have already set up your Brother Mfc l2700dw printer with the help of the above instructions and have got all the answers regarding how to setup Brother Mfc l2700dw.